Insert
The "Insert" option is only available from the Item screen, it allows you to add an
item in a series. For example if you had a collection of Buffalo Nickles and you needed to
add a new date in a series, like 1929 between 1928 and 1930 you would use the "Insert" option.
In order to insert an item into the proper location in the items database record you will need
to use the record scroll forward and backwards tool to get to the location in the database where
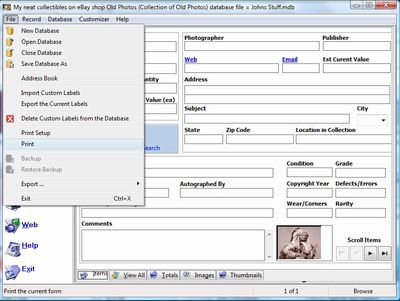
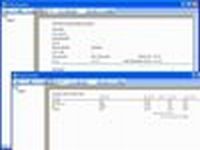
you want to insert a new record. Simply click on the right arrow to go forward through your items or click on the left arrow to go back through you items in a folder. Once you have the item location where you need to insert a new item, click on the Insert option. See the screen shot below:

Once you are a the location in your items where you want to insert a new item, click on the "Record"
tool option at the top of the program and in the drop down window click on the "Insert" option in the
drop down window. See the screen shot below.
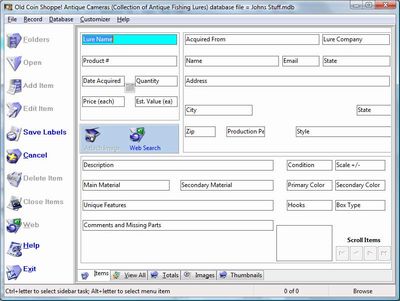
A new blank item screen will appear for you to enter the information about that new item. You will
know that the new screen is active, indicated by the blue first label field. See the screen shot below.
Options under the "File" tool.
- Address Book
- Import Custom Labels
- Export Custom Labels
- Delete Custom Labels from the Database
- Print Setup
- Print
- Backup
- Exit
Options under the "Record" tool.
- Insert
- Attach Image
- Remove Image
- Launch Microsoft Paint
- Copy
- Paste
Options under the "Database" tool.
- Select Column
- Sort
- Filter
- Undo Sort
- Remove Filter
- Search Address Book
- Reports
Options under the "Kustomizer" tool.
- Change Program Name
- Change Program Image
- Restore Defaults
- Change Labels
- Create Custom Labels
Options under the "Help" tool.
- Help
- Order
- Power Module
- About
|
|
Click here to take a tour of KollectAll

Take a tour
Click below for more details:

Main Splash Screen

Folder Screen
Item Screen
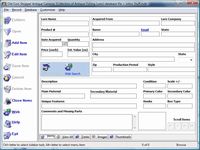
Image Viewer screen
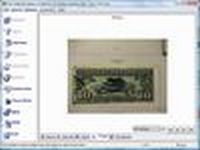
View All screen
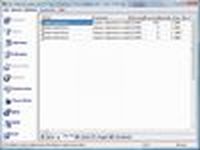
Totals screen
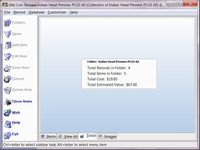
Reports

|