Filter
The "Filter" option is available in the drop down screen under the "Database" tool option.
The "Filter" tool allows you to filter item data by a specific filtering method. The Filter
tool is a quick way to filter out records that you don't want to see in the "View ALL" tab.
You use the "Filter" option from the "View All" tab. Click on the "Database" tool option at
the top of the program and in the drop down window click on the "Filter" option in the drop down
window. See the screen shot below.
When you click on the "Filter" option in the drop down window, a pop up widow appears with a
listing of options to select from that allows you to select and create the options you want to
filter the item data. See the screen shot below. 
There are a several options that you can take to make the filter function work for you:
- a check box to select the filter your want to run
- the first drop down window where you select the column you want to filter
- a drop down that lets you select the filter type, greater then, less then, and/or equal to
query
- a open window for you to put in filtering data like a number, zip code, word etc.
- the last window where you can select the query function of "OR" and "AND"
See the screen shot below.
A few things to remember about the filter option is that it is extremely
flexible in what you can do with the filter option and in most cases you may never need to use the
filter option.
Options under the "File" tool.
- New Database
- Open Database
- Close Database
- Save Database as
- Address Book
- Import Custom Folder/Labels Template
- Export Custom Folder/Labels Template
- Delete Custom Folder/Labels from the Database
- Print Setup
- Print
- Backup
- Restore Backup
- Export
- Exit
Options under the "Record" tool.
- First
- Next
- Previous
- Last
- Insert
- Add Image
- Remove Image
- Launch Microsoft Paint
- Copy
- Paste
Options under the "Database" tool.
- Sort Up
- Sort Down
- Advanced Sort
- Filter
- Undo Sort
- Remove Filter
- Find
- Setup Columns on View All Page
- Reports
- Show Database Location and File Name
Options under the Customizer tool.
- Change Program Name
- Change Program Image
- Restore Defaults
- Change Labels
- Create Custom Labels
Options under the Web tools.
- Online Storage
- Web Hosting
- Website Templates
Options under the "Help" tool.
- Table of Contents
- Index
- Web Help
- About
|
|
Click here to take a tour of KollectAll

Take a tour
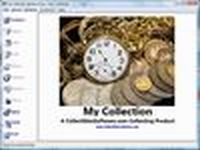
Click below for more details:

Main Splash Screen

Folder Screen
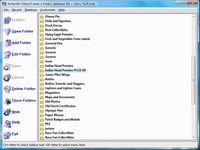
Item Screen
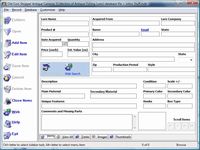
Image Viewer screen
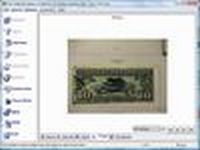
View All screen
Totals screen
Reports

|