KollectAll Database Backup
Backing up your collection data is a very important event and should be done on a regular basis.
By backing up your data you will have a current and separate backup copy of what could be thousands
of items in your collection. Backing up your data is a very simple process. See the directions below.
You can only backup your data from the main splash screen, by clicking on the "File" tool option at
the top of the program then selecting the "Save Database as" option in the drop down window.
See the screen shot below. 
After clicking on the "Backup" option, the "Save As" pop up window appears. Here you will select a
place on your hard drive or a external storage device like a CD or Floppy disc to save your backed
up data to. It is recommended that you save your data to a removable storage device like a CD every
month or so. Once you have selected the place you will be saving your data to, you will need to create
a name for the file, it can be anything like MyCollection11062005, whatever you want to name it so you
remember that it is the latest version of your database. See the screen shot below.

Once you are finished selecting the device or location and creating a name for your backed up data,
click on the "Save" button in the pop up "Save As" window. The back up process will launch backing up
all your data. A confirmation message will pop up indicating that the process is complete and providing
you with the details of where you saved the backup data. See the screen shot below for more details.
Since KollectAll allows you to create multiple databases and database for different collectibles instead of one
master database you
will need to use the restore database option which is available under the "File" tool on the top tool bar.
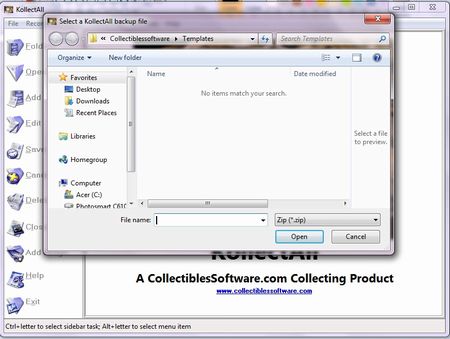
Options under the "File" tool.
- New Database
- Open Database
- Close Database
- Save Database as
- Address Book
- Import Custom Folder/Labels Template
- Export Custom Folder/Labels Template
- Delete Custom Folder/Labels from the Database
- Print Setup
- Print
- Backup
- Restore Backup
- Export
- Exit
Options under the "Record" tool.
- First
- Next
- Previous
- Last
- Insert
- Add Image
- Remove Image
- Launch Microsoft Paint
- Copy
- Paste
Options under the "Database" tool.
- Sort Up
- Sort Down
- Advanced Sort
- Filter
- Undo Sort
- Remove Filter
- Find
- Setup Columns on View All Page
- Reports
- Show Database Location and File Name
Options under the Customizer tool.
- Change Program Name
- Change Program Image
- Restore Defaults
- Change Labels
- Create Custom Labels
Options under the Web tools.
- OnLine Storage
- Web Hosting
- Website Templates
Options under the "Help" tool.
- Table of Contents
- Index
- Web Help
- About
|
|
Click here to take a tour of KollectAll

Take a tour
Click below for more details:

Main Splash Screen

Folder Screen
Item Screen
Image Viewer screen
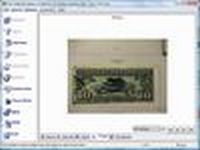
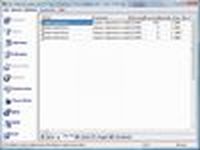
View All screen
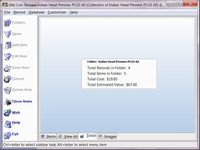
Totals screen
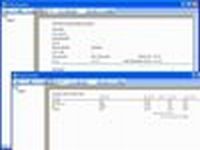
Reports

|